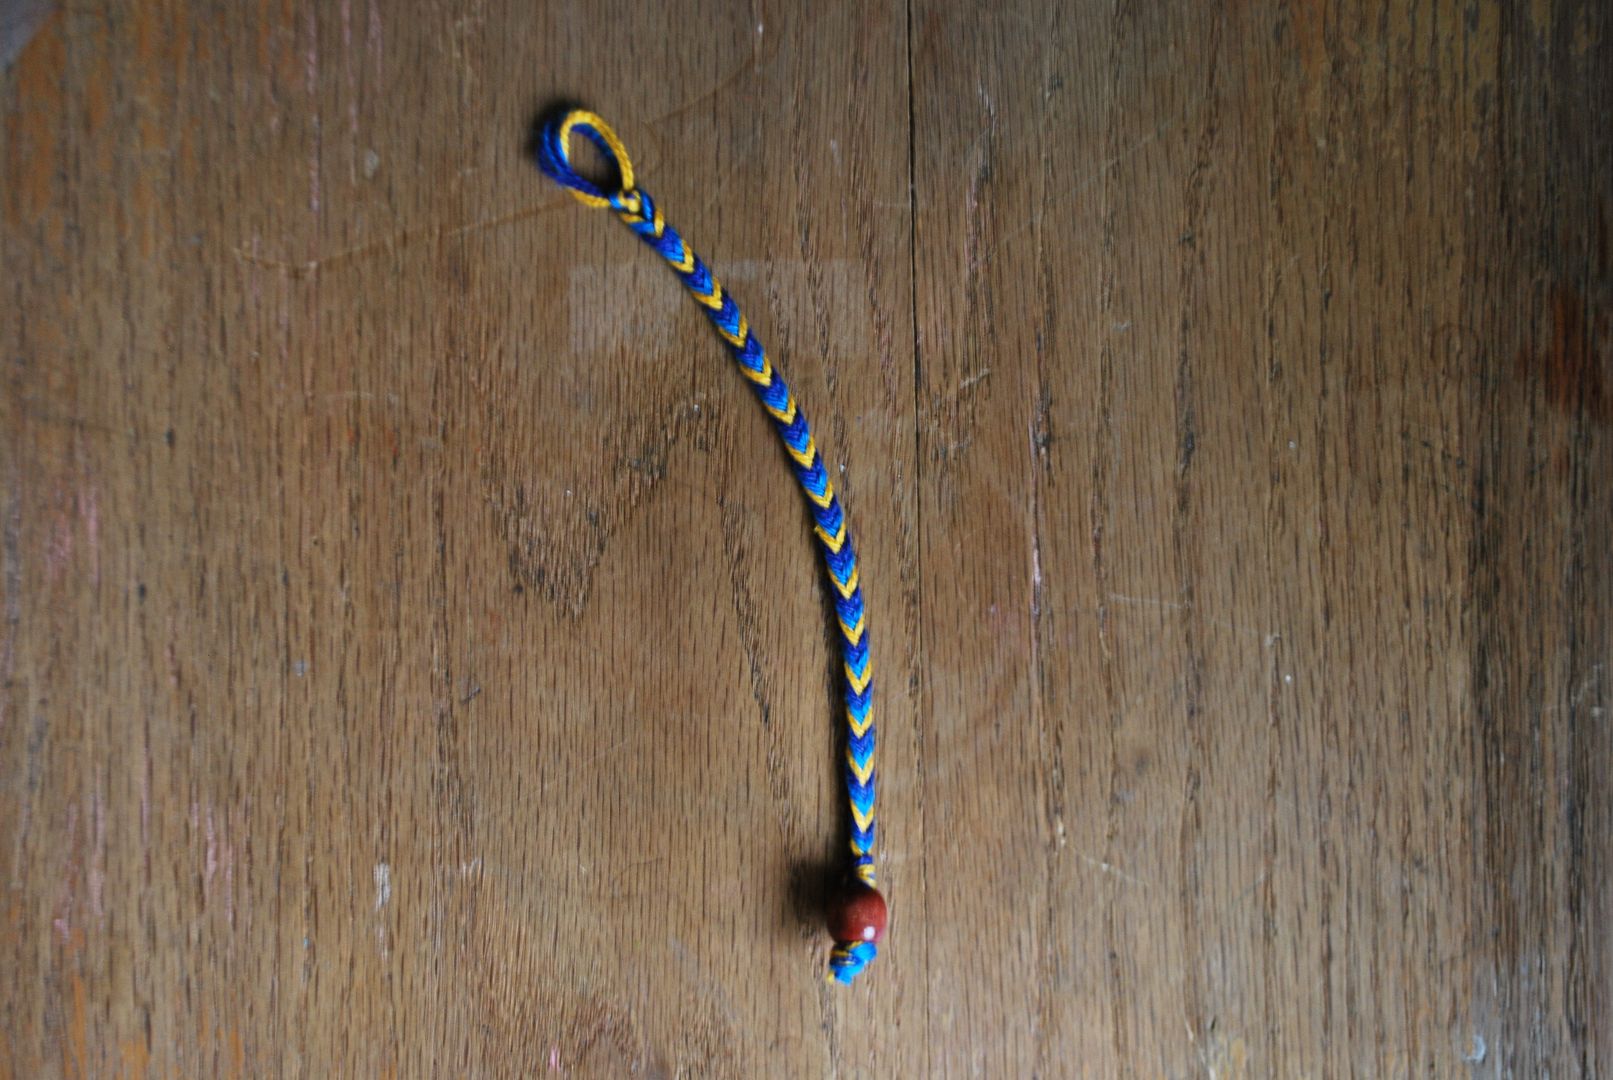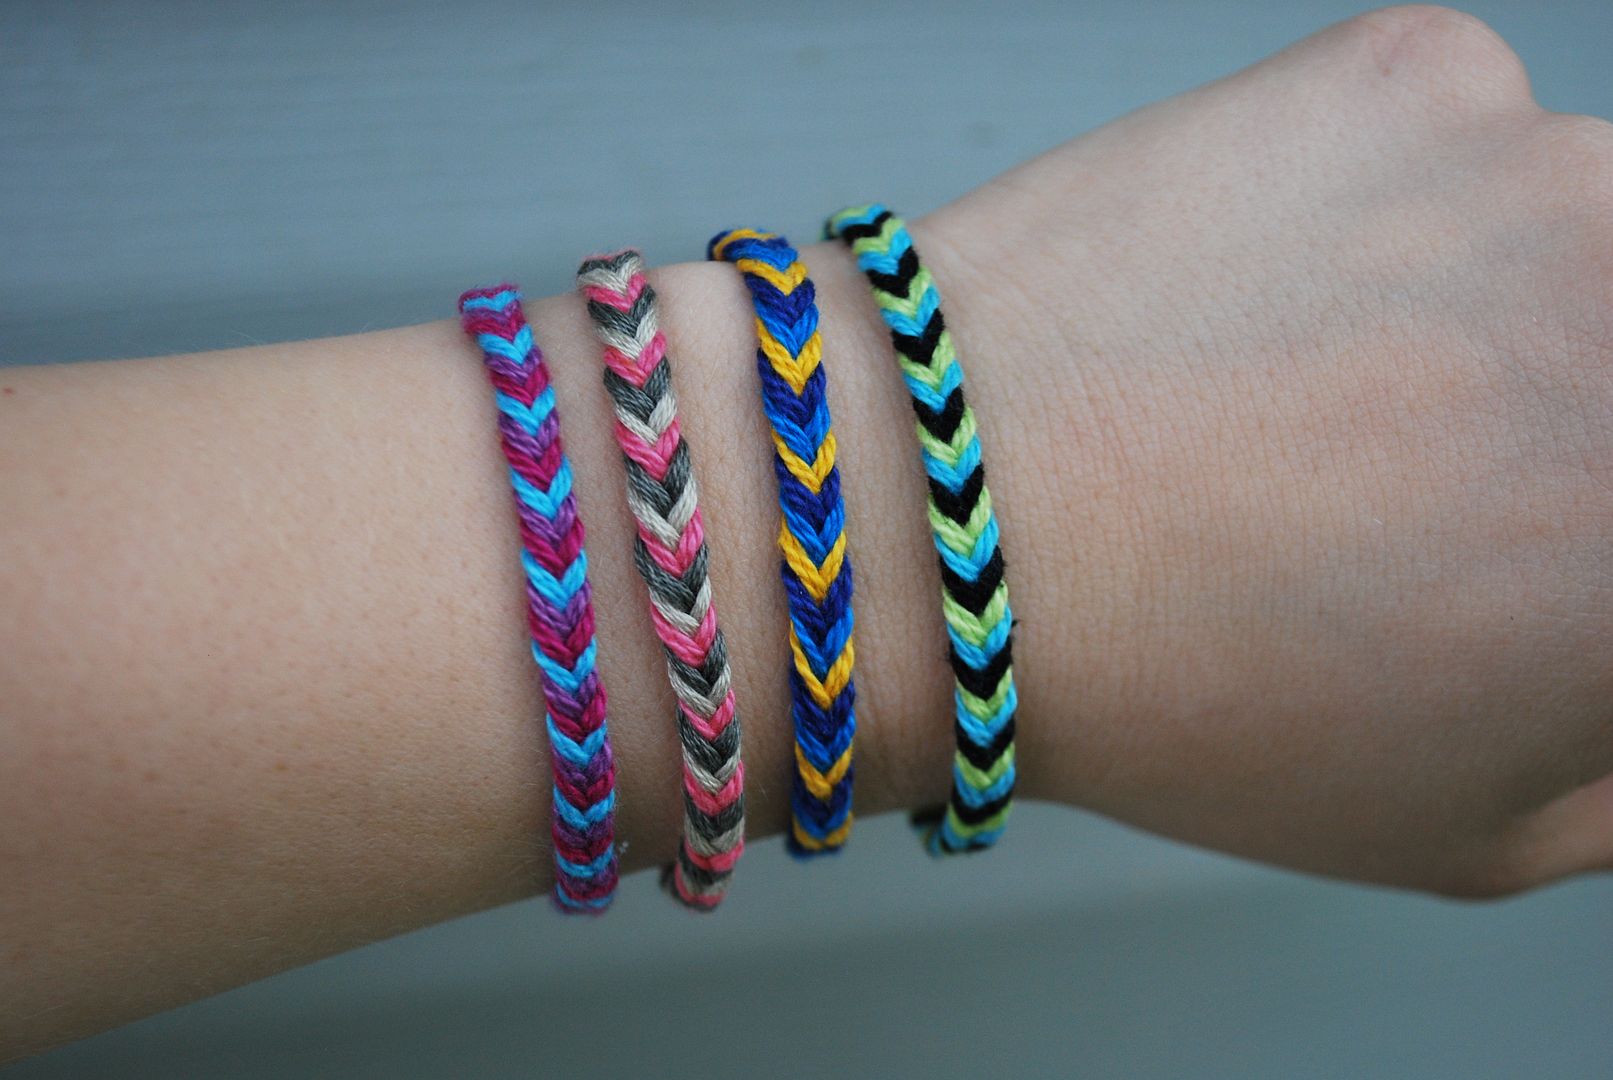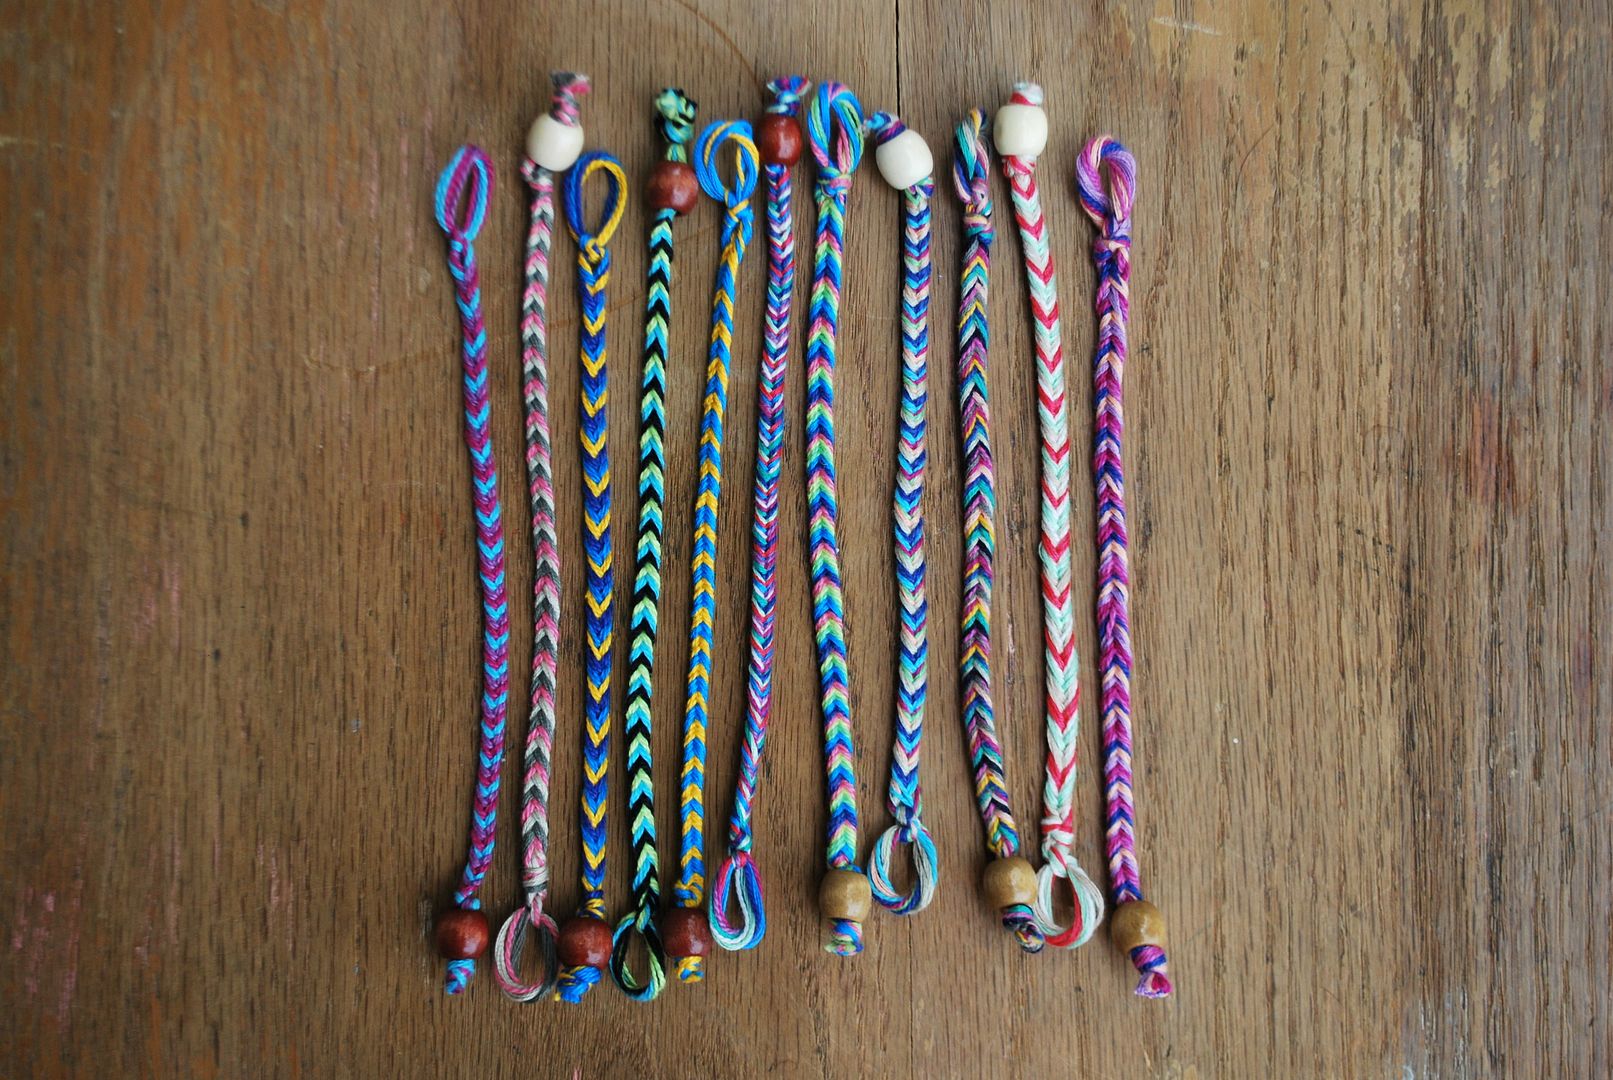
We were super excited to share the Fishtail Friendship bracelet tutorial with you and we are even more excited to share that we've found an easier way to do it. Don't get me wrong, I will still use the original technique to create more intricate designs but, this new tutorial is so quick you will end up wanting to make one in every color combination possible (like we did!) This tutorial is very similar to the other one so I will just share with you the differences.
Check out our latest DIYs!
You will need:
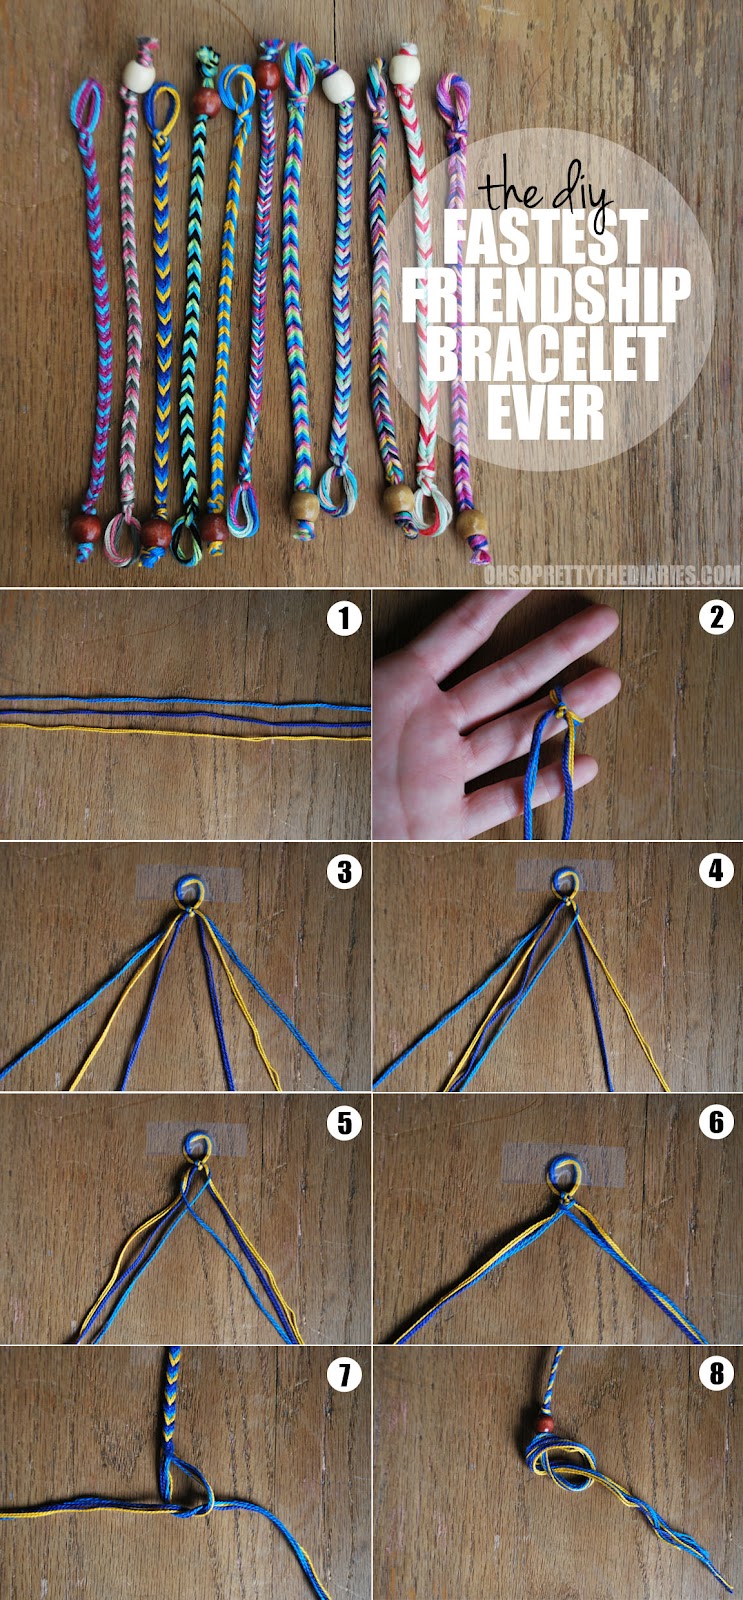
1. You will only need to choose three colors of embroidery/friendship thread. Cut two pieces of each color at around 3 feet each. So total you should have 6 pieces of string. Keep the like colors together.
2. Loop all of the string together around your ring finger and tie two knots.
3. Tape (or clip) the loop to a sturdy surface. Separate the colors. On the left side you should have one group of each color and you should have one group of each color on the right as well. If you separate them like this in the beginning, it will be easier in the next steps.
4. Take the outside color from the right side (in this case- blue) and cross it over to the left side (on the inside.)
5. Take the outside group/same color from the left and cross it over to the right side (on the inside.)
6. Grab the left group in one hand and the right group in the other and pull outward to tighten the design a little. You will only have to do this step in the beginning, eventually it won't need tightening. Repeat steps 4, 5 and 6 over and over again until you get the bracelet as long as it needs to be to go around your wrist. It should go pretty fast.
7. When the bracelet is long enough, tie two or three knots at the end.
8. String a bead onto the end and then tie another knot to keep the bead in place. (I actually tied two knots a the end.) Then cut the extra string off and you are done!
To see more detailed instructions of the end steps please refer to this tutorial.


P.S. When we say "Fastest" friendship bracelet ever, we are excluding the regular three strand braid. Obviously that'd be super fast but it'd just look like a braid and that's nothing special (but could work in the right situation.)
xo, Savannah
** This post contains affiliate links.


pretty!!
ReplyDeletei love this... thanks for sharing.
ReplyDeletexoxoxo,
Ruvic
http://ruvicbe.blogspot.com/
Very beautiful!)
ReplyDeleteLOVE this!! I am def. going to make a couple
ReplyDeleteNot sure about it being fast, it took me over an hour! maybe I'm just a bit daft, ha ha ha! I'm going to have another go though, thanks for the tutorial!
ReplyDeletePS. got it perfect on my third go! :)
ReplyDeleteLove these! The ones that we used to make years ago were just tied on and the saying was that when it fell off your dreams/wishes came true. I like the way these can be taken on and off. Thanks! :o)
ReplyDeleteGreat tutorial, the bracelets look great!
ReplyDeleteJewelry Rage
The ones you did look pretty but it takes forever and is completely impossible
ReplyDeleteReally cool ! Excited about doing it
ReplyDeleteI just finished one. I had a lot of leftover string but I like itand I plan on doing more.
ReplyDeleteis this similar to the fishtail tutorial except with 3 strings?? and could you use 5 strings for this tutorial if you wanted?? thanks so much. . .its a great tutorial :)
ReplyDeleteGreat tutorial. I have made some and on thursday show in my site. Thanks for tutorial
ReplyDeleteI have made some http://dhini.nl/2012/07/17/zelfgemaakt-tie-dye-en-colors-friendship-bracelets/
DeleteHeya are using Wordpress for your blog platform? I'm new to the blog world but I'm trying to get started and set up my own. Do you need any coding knowledge to make your own blog? Any help would be greatly appreciated!
ReplyDeletehttp://unikfashions.in/
Hey girls, just found your blog on my lunch break. I hate that I have to go back to work and cant keep reading haha Cant wait to sit down and have a read.
ReplyDeletexx Tanya
http://aciddreamsandsugarhighs.blogspot.com/
On a tight budget so i decided to make these as christmas gifts, they're adorable :)xx
ReplyDeleteAwesome! Check out my blog aswell!
ReplyDeletehttp://www.squidoo.com/how-to-make-friendship-bracelets-out-of-paracord
I like it :)
ReplyDeleteI just made one and it looks really cool U ARE AWSOME !!! ^_^
ReplyDeleteif u used dmc floss can you tell me the numbers you used?? thanks
ReplyDeleteWe did use DMC floss but it's been so long since we did this tutorial and all of our floss is jumbled together, so there is no way we'll know the numbers. Sorry!
DeleteMade this 3 days ago and sewed my name on it with letter beads and invisible thread! Ssoo pretty! I'm going to make them for all of my friends and post this post on my blog! Thanks Casey and Savannah!
ReplyDeleteMya F x
Your bracelets are so pretty! I just made a bunch of my own, but using Klutz's Fancy Friendship Bracelets.
ReplyDeleteI'll try yours next for sure!
I LOVE THE WAY YOU MADE THE FRIENDSHIP BRACELETS AND I GOT MY FAV COLOR AND MY TWO BFF'S FAVE COLOR AND MADE A FRIENDSHIP BRACELET WITH THESE SIMPLE STEPS THANKS SOO MUCH!!! ;D
ReplyDeleteI've just made one of these, but I only used 3 strands of thread. Am I missing something?
ReplyDeleteI loved it very much!! as friendship day is coming i can buy it my friends..it will be a great idea.
ReplyDeleteThanks
http://triplemj.com/shop/simple-string-cross-bracelet
Genial! I like! My blog is www.thetotaldisaster.blogspot.com
ReplyDeleteSaludos!!! Bye!!!
I'm the Editorial Assistant for Fun Family Crafts and I wanted to let you know that we have featured your fun friendship bracelet project! You can see it here:
ReplyDeletehttp://funfamilycrafts.com/friendship-bracelets/
If you have other kid friendly crafts, we'd love it if you would submit them. If you would like to display a featured button on your site, you can grab one from the right side bar of your post above. Thanks for a wonderful project idea!
This design is so awesome! I've been trying to figure it out all day long, literally! I had no clue it was just like the "Fishtail Braid" hairstyle! Trust me, if you know to do a fishtail braid on someone's or your own hair, this is a BREEZE!! Thanks so much for the help!
ReplyDelete-Becky :)
great tips for making frindship bracelets. I actually learn a lot.Thanks.
ReplyDeleteI LOVE the way that you finish the bracelets with a bead to make a easy closure. Love it! Thanks for sharing
ReplyDeleteI got lost on step 2. Yes I'm a bloke, before you ask.
ReplyDeleteOOO fun fun fun! Lately I have been passing time by braiding fabric and it has made me think about how I loved friendship bracelets. I even made one from Icelandic wool for my hubby yesterday :) Thanks for an lovely post!!
ReplyDeletexoxo
UniBalla
http://unithepeach.blogspot.com/
This is great ! http://charnicola.blogspot.co.uk/
ReplyDeleteJust saying-if you use the recommended 3' of embroidery floss, then you'll end up with a 34.5" bracelet (& 36" is 3') so unless you have INCREDIBLY fat wrists, I recommend using a shorter piece of floss.
ReplyDeleteSweetie, I don't think you read the instructions well or viewed the included images carefully. That 36" gets folded in half making the starting lengths of the now 6 strands only 18". Factoring in all the knotting at the beginning and end, leaving room for the bead and then the "shrinkage" that will occur because of the weave I don't think 36" is out of the question for a 7" or so bracelet. Look how short the ones in the pics are above.
DeleteIt's been at least 20 years since I last made one of these. I still have a stockpile of craft floss that I can share with my little girls now. They'd have a ball making these.
ReplyDeleteThe bracelets are really so beautiful and trendy. Recently i purchased a set of two pink color bracelet from H&H jewellery stores and it was same like you mentioned.
ReplyDeleteI would love the multi strand charm bracelet, I haven’t made one like that yet. It would be a fun opportunity to explore a new style.
ReplyDeleteI love love love this idea! I've been wanting to make friendship bracelets for my friends for a long time, but I haven't had long enough to do chevrons and candy stripes!
ReplyDeleteThank you,
Emily xxx
www.brickstreet.co.uk
thanks
ReplyDeleteThanks
ReplyDeleteLove this bracelet making DIY project. Looks really cute to have a try.
ReplyDelete