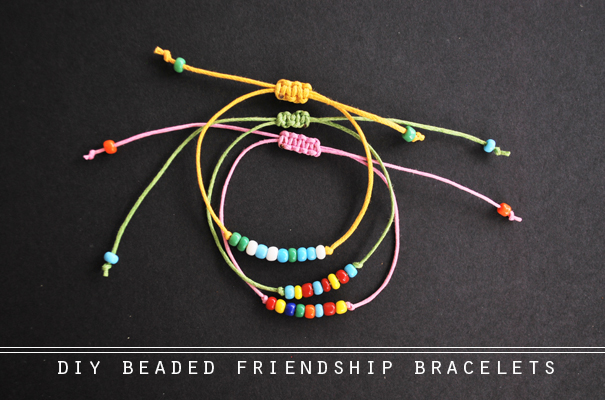
I was inspired yesterday to make a bunch of bracelets but I only successfully made these guys. But, I really like how they turned out! They are super simple and quick and they could be customized in many ways. And you can give them away to your friends without feeling like your giving your soul and hours of hard work away with it. You know, those regular friendship bracelets are so cute but geez, can I get my day back? Anyway, here's what you do...
All you will need is braiding cord and a few smaller beads. You basically need a bead that is big enough to easily slide on the cord but, still small. Cut a piece of thread about a foot long. Tie a knot close to the middle of the strand.
Slide the beads on in whatever order you would like. I used 8 beads. Tie a knot on the other end of the beads. Overlap the ends of the strands around each other.
Cut another strand of cord and wrap it around the overlapped strands. Tie a forward knot to start.
Then tie a backward knot.
Alternate back and forth about 8 times. Snip the ends off and burn them with a lighter.
Slide a bead onto both of the ends and tie a knot. Then snip off the excess. And you are done!


how cute, plus love your new blog design
ReplyDeleteLove the new layout! Very cute :)
ReplyDeleteThis is great! I've always wondered how they did those types of 'closures' on bracelets! (Have never searched though... go figure! xD)
ReplyDeleteWhat kind of cord is this? Is it satin?
ReplyDeleteThanks for this tutorial! How long is the second cord?
ReplyDelete