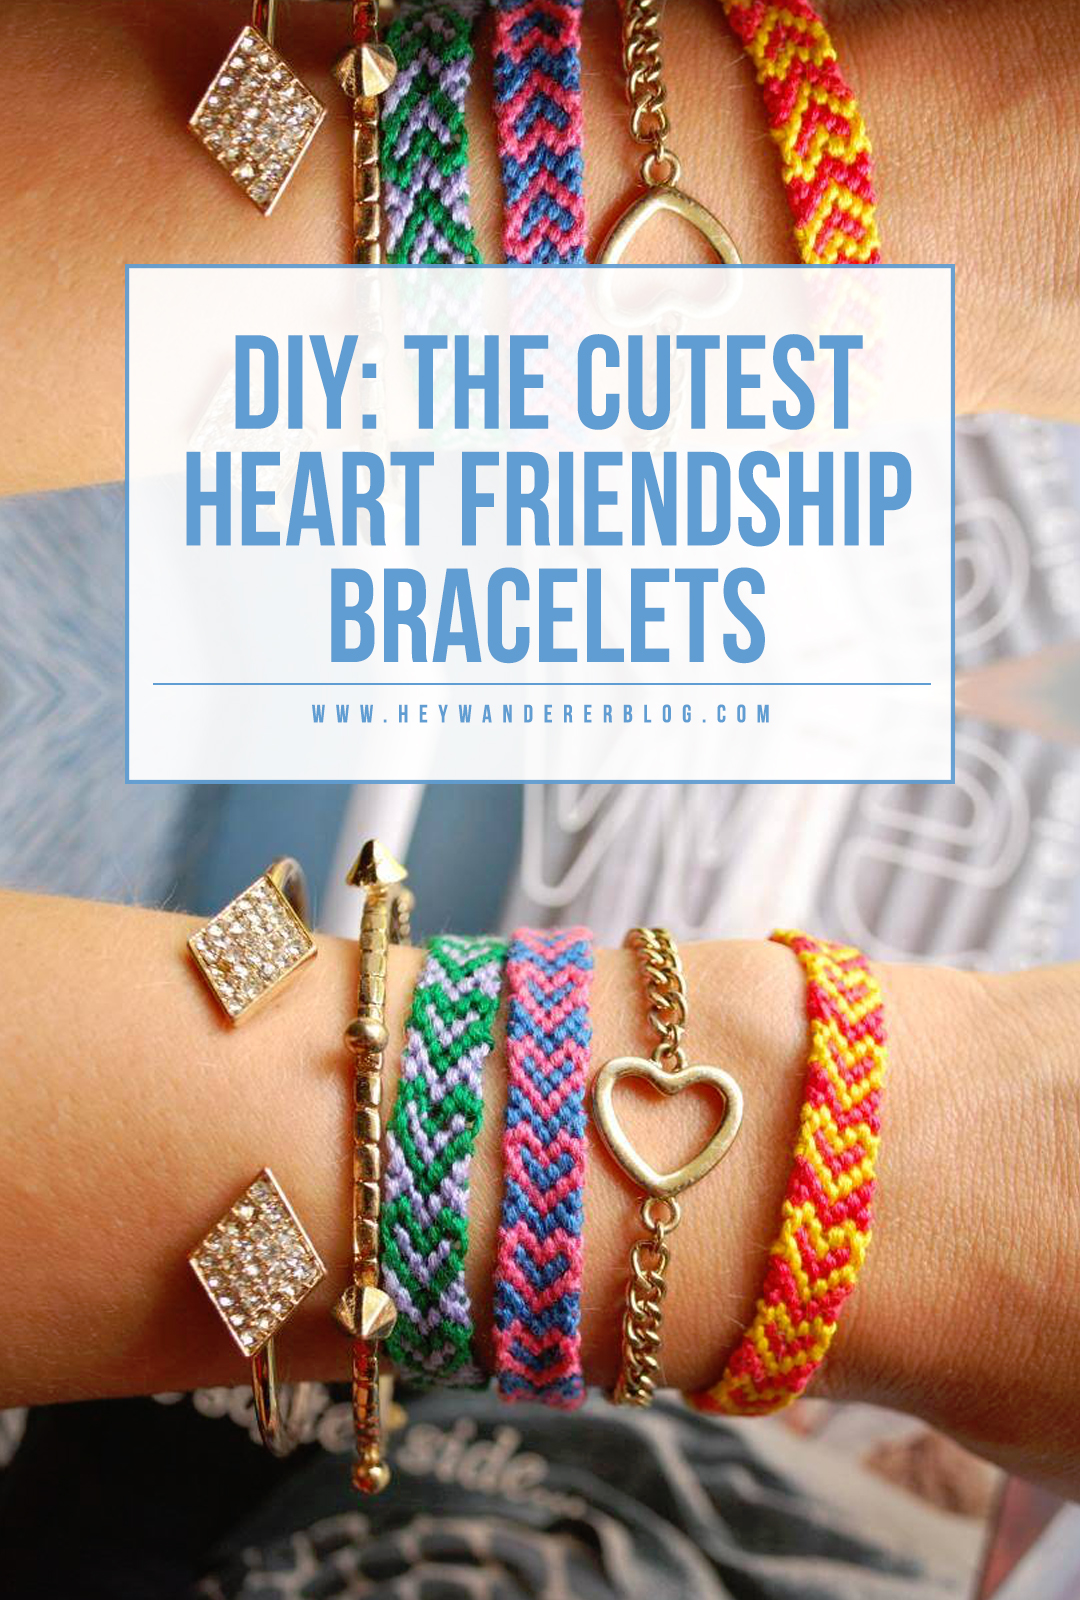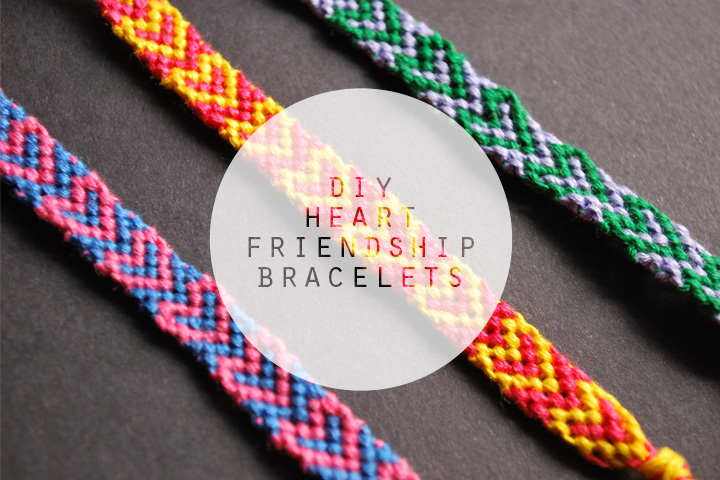
So you know the drill, Get you some friendship thread and let's make a bracelet, or two, or three.

Things you will need:
- Scissors <-- These are some of favorites
- Tape
And if you are interested in making your bracelets removable as we did in this post, you will also need:
And if you are interested in making your bracelets removable as we did in this post, you will also need:
Cut 4 strands of each color. Each strand should be about 2 ft. long. Play it safe. Tie them all together and tuck them under a clipboard or tape it down.
The first two rows you do will just be a traditional chevron. Start on the left and make a "4" with the outer string. Pull the end of the string through the space of the 4 and tie a knot. Twice. Always tie 2 knots on everything, always. Never just one. Repeat that knot on the string to the right and keep going until you reach the middle.
After you reach the middle, start the same process on the right side. This time you will tie a backward knot. Make a backwards 4 shape or a "P" with the strand on the right and pull the end through the opening. Tie two of these knots on every strand, working toward the middle. When you reach the middle, tie another knot (group of two) over the string from the left side.
Your chevron is complete. At first, this looks a little crazy but it will get better. Repeat the whole process again with the next color.
Now, this part it the different part. With the second string from the left, tie a backward knot on the string furthest to the left.
Repeat on the right side except you will tie a forward knot with the string that is second from the right onto the string furthest to the right. I found it easiest to leave the outside string out to the sides because you will not need them until you start the next row. With the string that is now second to the right, tie a forward knot on all strands towards the middle.
Do the same on the right side with backward knots.
Continue knotting onto the last string from the left side. You basically just did a mini-chevron without the two strings on the edges.
Now, repeat that same exact row again. When you've finished that row, tie two rows of chevron and you have a heart!
Now repeat all that over and over again until it's long enough. You tie two chevron rows, and then two of the other rows, then two chevron, then... you get it.
Yay! I think we only have a few more friendship bracelet posts for y'all. I promise we'll stop soon! :)
xo, Savannah + Casey

So cute! As someone who has never (sad, isn't it) made a friendship bracelet, I have to ask, how long does it take you on average to complete one?
ReplyDeleteCathey with an E
These look adorable! I really need to do some to my nieces, they'll love them! xxx
ReplyDeleteWow. I wish i had the patience for this! I've tried countless amounts of times and can't get passed the first chevron.
ReplyDeleteThey look great!!!
-hellomeetvirginia.blogspot.com :)
Very nice! :)
ReplyDeleteI love this so much! Awesome color combos.
ReplyDeletehttp://haleybrianna.blogspot.com
I'm trying this right now ^^ but I have a question: after the 6th set of photos, it says: With the string that is now second to the right, tie a forward knot on all strands towards the middle. (This is the first mini chevron). Shouldn't the 'second to the right' be 'second to the left'? Many thanks! xx
ReplyDeleteGreat directions! Read them once and got it immediatly! Super easy! I started cheveron two dys ago an got the hang of it super fast. Tried this and found it super easy!
ReplyDeleteReally love what you did there ! This is really nice ! I put this bracelet in my last DIY selection ! I hope you don't mind ;)
ReplyDeletehttp://dododo.fr/selec-diy-bracelets-dete-2/