DIY yarn wall hanging

This winter we participated in a flea market/ craft show and decided that we wanted our booth to be Christmas overload. We wanted people to look at our booth and feel the Christmas spirit. We built some walls and made it kind of like a little store. The most work was spent on decor DIYs for the walls, and this yarn wall hanging was one of the main pieces. We made two of them because they were really easy and took up a good amount of wall space. After the show was over, we realized we had some really good usable decor on our hands! One of them may go in a room we are working on for a client, but we are still searching for a home for our other guy. Anyway, I'm going to show you how we made them!
It's very simple, and all you need is a bunch of yarn (hopefully yours is not as messy as ours), scissors, and some thumbtacks or tape to secure your piece while you are making it.
Step 1.
Cut a string about 3 times as wide as you want your piece to be. You can either secure the strand on the wall like I did here, or you could tape it down on a table so it doesn't move anywhere. You could do this without securing this strand, but trust me, it'll be easier if you do.
Step 2.
Cut a strand of yarn about 6 feet long and fold it in half. Place the loop behind the secured strand.
Fold the loop over the secured strand.
Pull the part that is hanging down through the loop.
Pull down on the two strands that are hanging down...
...until it is tight enough to look like a knot.
Step 3.
Repeat step 2 over and over again until you have as much yarn hanging down as you would like. Keep in mind that each individual should be able to move side to side. If you have some spaces (like in the picture above) you can just move the pieces to cover it up. It's also really easy for the pieces to get really close to each other, so just adjust accordingly.
Step 4. 
Put two nails, thumbtacks, or screws in the wall where you would like to hang your pieces. Tie each end onto the nails and secure with a knot. Cut the excess string.

There you have it! A really simple to make piece that will bring a lot of texture and style to your room. Tag us in your IG pics if you make one!

xo, Savannah

before and after // shabby boho bedroom makeover


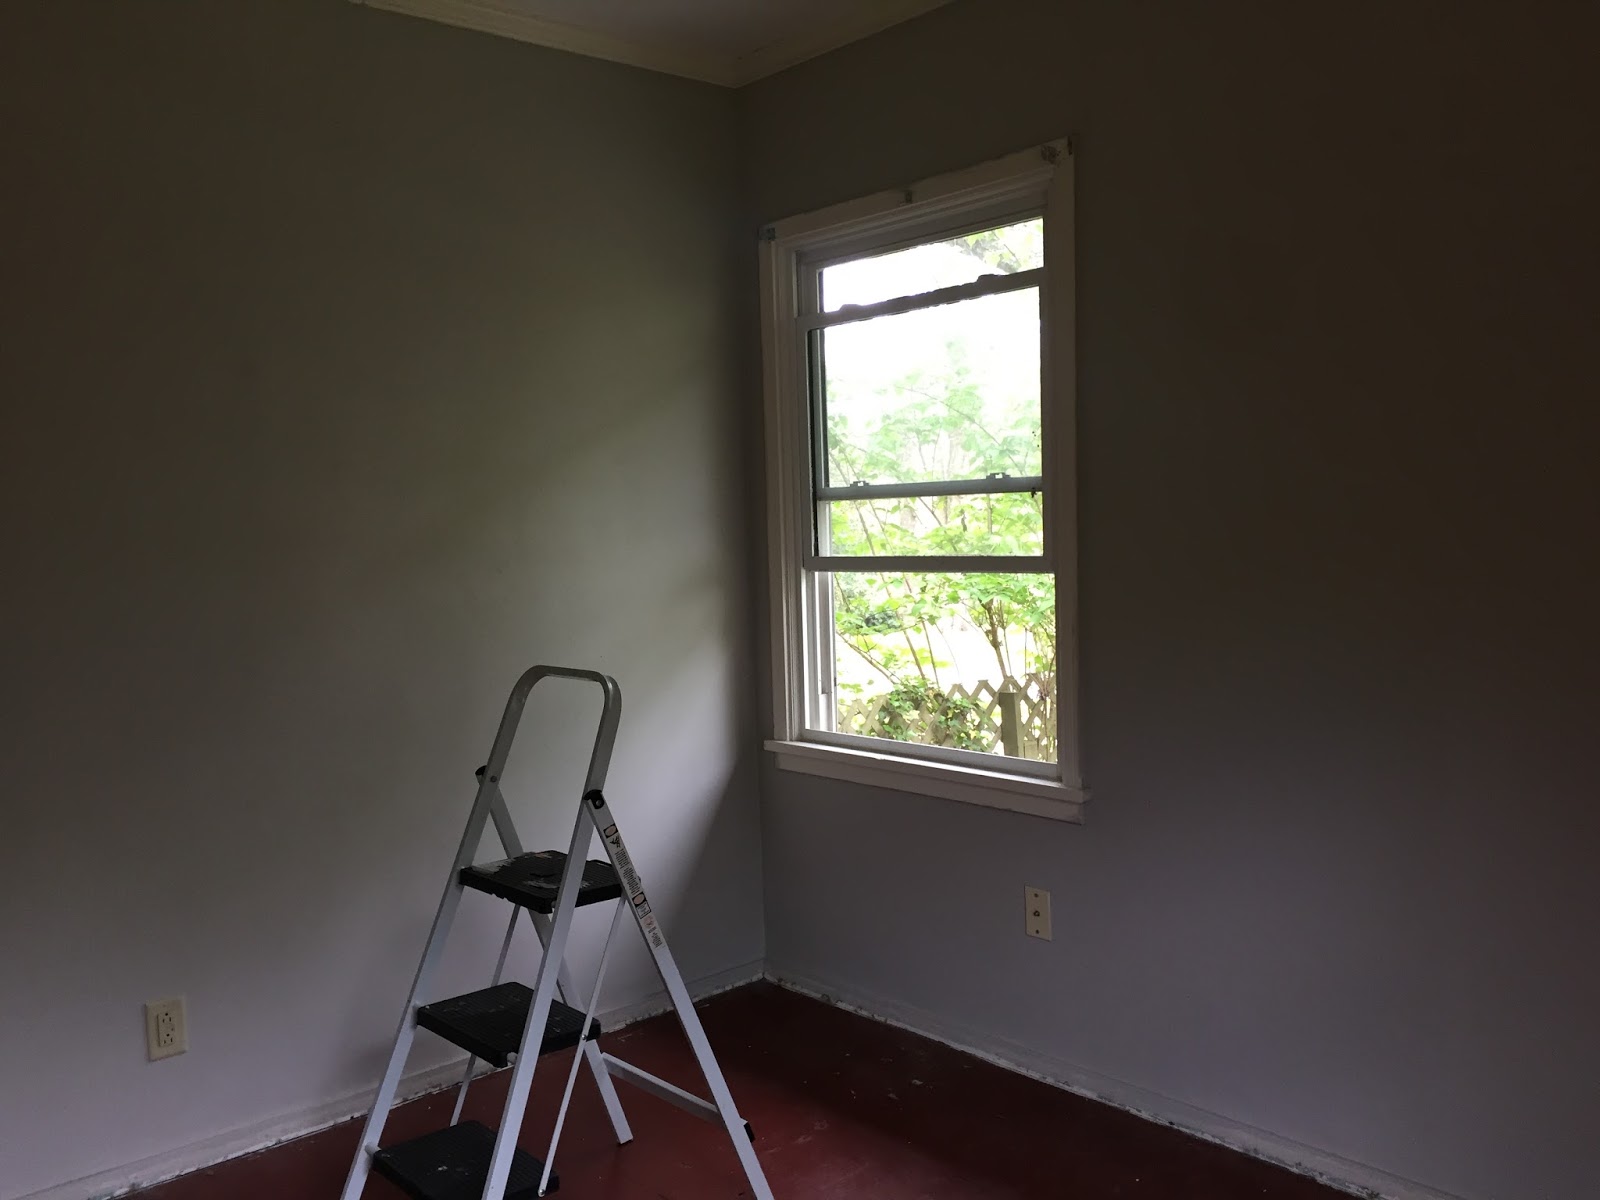
Guys. So excited to share these room photos with you! I really love all the details in here, and basically want this to be my second room. Anyway, before we started decorating this bedroom, it was used for a few too many things, as you can see below.
The shape of this room is also a little strange. It's long and skinny. Our first task was figuring out where to place everything in the room. You definitely want your room to flow and you definitely want to be able to get to your closet easily. That was not the case in these before photos.

Here is a tip for every bedroom ever. Never caddy corner your bed or furniture. It's just not a great use of space. If you have endless space and you really want to arrange your furniture that way, then have at it. But if you are trying to use your space in the most useful way possible, don't caddy corner. 

Our client was weary of having plants in her room, but we insisted! Plants bring a lot of life to a space. We kept it simple with two plants that don't require much care.

Duvet cover- Anthropologie / Rocking Chair- Amazon/ Pillows- Urban Outfitters, World Market and Home Goods/ Kantha Quilt- Castilleja/ Sconces- World Market/ Mirror- Kirkland's/ Moon Jewelry Hanger- Urban Outfitters/ Curtains- Urban Outfitters/ 'Pray for my haters' Embroidery hoop- Old Made Good/ Dreamcatcher- Vintage Rubia on IG
Dresser- Be.Vintage/ Bed frame- Wayfair/ Bedside rattan shelf- Gas Lamp Too/ Wall Hanging- Full Moon Fiber Arts

Y'all. Decorating rooms is so much fun. It is for us at least. We had a lot of fun picking up pieces for this room over time. Casey and I both like so many different styles and we don't have enough rooms in the house to use everything we like. Decorating other people's rooms is a way we get to enjoy a plethora of styles. We hope you've enjoyed this before and after series!

xo, Savannah


before and after // boho baby nursery Makeover


It has taken us forever to get this post together. We did this room half a year ago! This room belongs to Casey's niece in Casey's brothers house. We knew when we took on this project that this wouldn't be any ol' baby's room. (Casey's brother is lead singer of a heavy metal band. For real.) We knew that pink walls weren't going to cut it. We wanted it to be just girly enough, but still be something that her brother would like. There were some doubts in the beginning about the black walls (basically everyone thought we were crazy for having black girls nursery... Casey's mom especially) but in the end everyone really liked the results.
The first decision we made was the wallpaper. We had some ideas in mind, but you kind of have to be flexible with your ideas, because wallpaper options are limited. It is SO hard to find exactly what you are looking for. There is a lot of wallpaper in the world and a LOT of it is bad. So very bad. We were looking for a needle in a haystack that didn't cost a small fortune (all the fabulous wallpaper does of course). Since we knew we weren't going to be going the traditional girl nursery route, we stayed away from girly wallpaper. I will say that there are a lot of great girly wallpapers out there, just not exactly what we wanted. This jungle leaf wallpaper was the inspiration for the rest of the room The leaf print is silver metallic and so fun. We decided to paint the walls the same color as our dining room- cracked pepper by Behr.

*Side note- this black is great. If you are thinking about painting black and are really scared about it being too dark, use this one! It's not SO black, but you definitely think it's black. It's just softer.
Casey's stepdad, Richard, installed laminate flooring in this room. This was a major improvement from the painted red flooring before. Ick. We were also lucky enough that he also applied the wallpaper because it takes him 2 seconds. I'm confident it was take us 89 days at least...
We knew we wanted to have books displayed on a bookshelf like this, so we ended up DIYing it for close to nothing, compared to $12 for one (shorter) shelf. We filled the shelves with books about women and life lessons. This part was really fun and now I want to own a bunch of children's books.
This moon was created just by putting some sticky hooks on the wall in the shape of the moon and twisting the wire back and forth between each. The same method was used on the triangle in my own room
Crib- Ikea / Fitted Sheet- via Castilleja / Blanket- Castilleja / Shawl- Vintage / Changing table dresser- Babies R Us / Rug- Urban Outfitters / Moon lights- Amazon / Flamingo lights- Castilleja / Curtains- Urban Outfitters / Wallpaper- Eijffinger / Wall decor- Urban Outfitters / Butterfly print- Old Made Good / Bookshelves- DIY 

We have a few other rooms to share with you and we are working on another right now! Oh and our downstairs bathroom just finished being remodeled so we will be taking some photos of that in the near future. Thanks for reading!

xo, Savannah