How To Build Garden Beds For Free

A few years or so ago, we grew a garden. We were in a house with much more land, so it only seemed like the natural thing to do. We've always been interested in growing our own food and we had the land, so why not give gardening a try? But the thing is, it can be an expensive startup cost and it can easily become overwhelming.

We left our garden beds when we moved to another house. And over time other projects on the new house became our focus. 4 years later we went on an extended trip in California and spent a lot of time on different farms and homesteads. It was then when our desire to start our own version of a homestead came back. Our first act? Order baby chicks. The second? Start collecting free materials for garden beds.

In our old house we built 4 4'x12'' wood beds and then later built a 3'x5' bed out of cinder blocks. The wood ones weren't completely expensive, but we made 4 and needed to fill them all with soil. That price added up quickly. The cinder block one worked but was not very nice to look at. So we knew this time that we wanted beautiful garden beds (preferably in the potager style) but we also needed to make them in the cheapest way possible. Enter in Craigslist. We searched high and low for free wood. We collected pallets, old barnwood, old shelves to disassemble and extra random pieces from friend's houses. After about a month of searching we had gathered enough material to build most of our chicken coop and some pretty nice garden beds.

To make the beds we did, you will need mostly pallets. We also used 1"x3" pieces to hold the pallet wood together, and 1"x4" on the tops to make the beds look more finished. We purchased the 1"x4" for about $6, so you can leave this out if you want to do this completely free. 


The first thing you need to do is cut your pallets into individual pieces. Use a circular saw or jigsaw to do this. I cut mine into 14" pieces which is about the exact size from one wood brace to another. Once you have a bunch of pieces cut, like maybe 30, you can move onto the next step.

We are making a 4'x8' bed, so these measurements will be for those specific dimensions. For each bed you will need wood cut into these measurements:

30 or so 14" pieces of pallet wood
2- 1"x3"x90"
3- 1"x3"x43.5"
2- 1"x4"x96", ends cut on a 45 degree angle
2- 1"x4"x48", ends cut on a 45 degree angle
1 1/4" screws or 1 1/2" nails
2 1/4" screws

Some of the wood on pallets is very hard, so you will want to use screws if that's the case. Otherwise, you can use nails. Whatever works best for you.

To start assembling, lay the pallet wood pieces in a line and lay a 90" piece flat across the pieces perpendicularly.

The width of the pallet pieces should be 93", so there should be about 1.5 inches of space on each end. Secure the pallet wood with screws or nails until the entire piece is assembled. This will complete one side of the garden bed. Repeat this process with the other 90" piece and 2 of the 43.5" pieces. The only difference is that on the 43.5" pieces, you will extend the pallet pieces from edge to edge. This is the part that will join with the long piece at the corner.

**Most pallet wood is about 3/4" in width. If your pallet wood is thicker than 3/4", you will have to adjust some measurements.


This is the point when we painted the outside of our garden beds. If you like the mixed match weather wood look, you can definitely skip this step! But we had a ton of left over paint and it really made the bed look nice.

When we assembled a second version of this garden bed, we assembled it first and then painted it. This became our preferred method.

When all the sides have been assembled, you will place them upright and attach the short ends to the long ends, making a rectangle. Assemble the corners by using 2 1/4" screws.

Attach the 3rd 43.5" piece to the long sides in the middle of the garden bed.

You can stop here and you will have a great garden bed! Or you can take it a step further with a few 1"x4" pieces like we did to make it a little more finished. If you can't gather these for free, you could either purchase them or rip a 2x4 in half with a table saw. After all the ends have been cut into 45 degree angles, place them flat on top of the edges of the garden bed. Attach with nails (or screws). The goal is to create a uniform border.

Now once you've completed to process of building your beds, you still have to figure out how you are going to fill them, and with what. You can see how we did that in this blog post: The Cheapest Way To Fill Your Garden Beds.

I will say that we did line the wood with garden fabric, as we didn't want any chemicals from the wood seeping into the soil. You can get a large roll that will cover multiple beds for about $10. If you know more about the wood pallets you have this may not be a necessary step.

This certainly isn't the quickest way to build a garden bed but it is free! This is also a great way to repurpose materials. You could get really creative with this and layout the wood in lots of different ways. We hope this DIY was helpful in making your gardening dreams come true. Thanks for stopping by! 

7 Chicken Coop Necessities

Before Savannah designed our coop, we both did a lot of research. Years ago we had chickens and our coop was a converted shed. It had all the main components for a chicken coop but it was horrible to clean out. In order to get the eggs, you had to go inside the coop. When we decided to do chickens again, we knew we wanted a coop that was well thought out and easy to use and clean. After much research this is what we came up with. I can say after using it for 5 months, I wouldn't change a thing (except maybe making it bigger so we can get more chickens....hahaha).


1. Vents
This is one of the most important aspects of a coop because it keeps them healthy. Chickens produce a lot of moisture and ammonia. If they don't have enough ventilation this will cause a lot of problems. Ventilation also reduces the heat in the summer. The more vents you can put in the better. The even need ventilation in the winter.


2. A Giant door for easy cleanout
You will thank us for this. Cleaning the coop out takes me less than 5 minutes. I pull my Gorilla cart right under the door and sweep everything right into the cart. Having the wide door makes this whole process so much easier.

3. Roosts
Chickens need and like to roost. Sometimes you might find a chicken trying to sleep in the laying boxes and you just need to place them on the roosts. Ours wouldn't roost for the longest time. They would just all huddle together at the bottom of the coop. We added a second roost that is a 2X4 because they didn't seem to like or use the branch we had in there. Once we did that they started roosting on both of them. I have read that it's not good for their joints to sleep laying down all the time.


4. Easy Access Laying Boxes
This is just a convenience thing. It would be challenging to access our laying boxes from the inside. Also since the coop and the run aren't the cleanest of places, I avoid going in them as much as possible. Being able to just grab the eggs from the outside is quick, pleasant, and easy.

5. Chicken sized door & ramp into the run.
The girls have to have a way to get into the coop. We actually don't ever even close our door because our run is predator proof, but it's nice to have a way to close it especially in the winter time.

6. Raised Coop
This is huge in my opinion and one of my favorite features of our coop. Several years ago when we lived somewhere else and had chickens, we used an old shed as a coop. We had no idea what a nightmare that would be. Cleaning it out was terrible and so we didn't do it very often. The coop being elevated makes everything easier to access. It also extends the size of the run and provides an additional place outside of the coop where the chickens can take cover when it is raining. We also put their food in this space so we never have to worry about it getting wet and moldy.

7. Vinyl Floor
We got this idea from somewhere on the internet and it's one the best things we ever did. This allows the bedding to just slide off into our cart. As mentioned above, I can clean out the coop in 5 minutes. This is largely because of the vinyl flooring. We did the stick on tile which is super cheap and easy to install.

If you hadn't notice, a lot of the necessities revolve around making the coop easier to clean out. Chickens aren't happy or healthy in a dirty coop, so being able to keep it clean is pretty crucial. Happy chickens lay more eggs!

5 Things To Know Before Buying Baby Chicks

With the state of the world right now lots of people are looking for ways to be more food secure, and having chickens is a great way to provide sustainable food for you and your family. And this time of year lots of places have those adorable chicks just waiting for you to take them home. We got our chicks in October 2019 and them laying eggs is so exciting! However, it's not easy or cheap raising chicks. So, here are some things you should know before you go out and buy a bunch of super cute chicks.

1. They don't lay eggs for close to 6 months.
It's easy to get caught up in how adorable chicks are but they get big pretty quickly and you'll be feeding them and taking care of them for close to 6 months before they start laying eggs. That's definitely something you might look past when you are holding that adorable lil' chick.

2. They have to be kept at a certain temperature for a period of time and need to be in a brooder.
This is what we used to home the chickens. You can't just get chicks and then throw them outside and hope it all works out. They need to be in a brooder, and there are specific temperatures that chicks have to be at for several weeks. You can achieve that warmth by several methods. Most people use a heat lamp but you have to be careful when doing this because they can start fires. You can read more about those temperature specifications here. You typically lower the temperature every week by several degrees until they can get used to the outside temperature.

3. Setting up a proper chicken coop is a lot of work and can be expensive.
If you don't want to build your own coop, you will be paying several hundred dollars for an already assembled coop. You can save a lot of money by building your own, but that's a lot of work. We took forever to build ours because we were trying to do it as inexpensively as possible. We repurposed a lot of wood from pallets and got it for free on craigslist. All that to say- if you want to build a chicken coop that is predator safe, comfortable for your chickens, and is easy to maintain, you have to do a lot of planning for that.

4. You could be getting a rooster.
A lot of chicks are sold straight run which means you don't know if the chick will be a rooster (male) or hen (female who lays eggs). There are certain breeds that the females look different than the males so you can know what you're getting when you buy them. However, in most cases you'll only find those types of chicks from specialty hatcheries. Maybe you're cool with getting a rooster, but where we live you cannot have roosters within city limits. So that's just something to take into consideration.

5. You will not save money by having your own chickens.
Remember you are going to be feeding and taking care of chickens for 6 months before they every lay an egg. You could definitely just buy eggs somewhere else for less money when you take in the cost of the coop, food, bedding, treats, etc.

We say all of this not to prevent you from raising chicks, but just so you know what you are getting into. It's not for everyone, and you may be better off buying hens that are already laying. We chose to get chicks instead of hens that are already laying because we wanted specific breeds to lay certain color eggs. Depending on where you live, it may be hard to find the specific chicken breed you want. Buying laying hens over the internet is usually expensive because of the shipping charge. Check to see if you can find some laying hens locally to you. That's what we did the first time we had chickens, and it worked great! We definitely feel more attached to our chicks since we raised them from being a day old. Getting that first egg was so exciting. There are definitely benefits to raising chicks, but you just have to do what is right for you!


10 Heirloom Seed Companies & Why To Buy Them

Years ago when we first started gardening, we got a seed catalog from a friend and just ordered whatever looked good. We had no idea what we were doing and especially didn't know about different types of seed. I remember seeing "Heirloom" tomatoes in the store and I knew that they looked funky. I also remember that they were so delicious (according to Casey and the general public.) But we weren't necessarily in any hurry to figure out how to grow them. We just wanted whatever we could order right then.

Now, our second time around with starting a brand new garden, selecting seeds is very different for us. I find myself wanting ENTIRELY heirlooms varieties for a lot of reasons. So what are those reasons? Let's chat...


When you buy heirloom seeds you:

1. Get different and unusual varieties with history. Some places will tell you where the seeds originated from, and if you get them from a friend or family member, they can often tell you a story about where the seeds have come from. Plus, you can get some of those more special varieties like vegetables in crazy colors, or unusual shapes- cherry sized cucumbers, yard long beans, and white tomatoes. 

2. Grow fruits and vegetables with better taste. Remember what I said about those tomatoes? Yeah, that's a real thing. If you have ever had an heirloom vegetable or fruit, you know that the taste is superior to what you are used to in the grocery store.

3. Grow plants with more nutrition. They are better for you as they have not been hybridized time and time again. They are also non-GMO which is super important as GMO seeds can have a host of issues and are thought to be linked to several health problems. Here is an article talking about how the nutritional content is lower in fruits and vegetables that are grown conventionally.

4. Can save them and save yourself money! This is a big one for me. All heirloom seeds can be saved by not all hybridized/non-heirloom seeds can be saved for a variety of reason. I love the idea of being able to keep the same plant variety year after year without have to repurchase them every year. And in turn, you can save money! Seed costs definitely add up. So having the option to save seeds at the end of the season opens up more choices for you. Here is a great blog post explaining the different types of seeds.

5. Develop seeds that are better adapted to your land. When you are saving your seeds year after year, you are saving the seeds of a plant that has adapted to your exact land and climate. Whatever plants have done the best are the ones to save.


So where do you buy heirloom seeds? There are plenty of great places online where you can order seeds and have them delivered straight to your door.

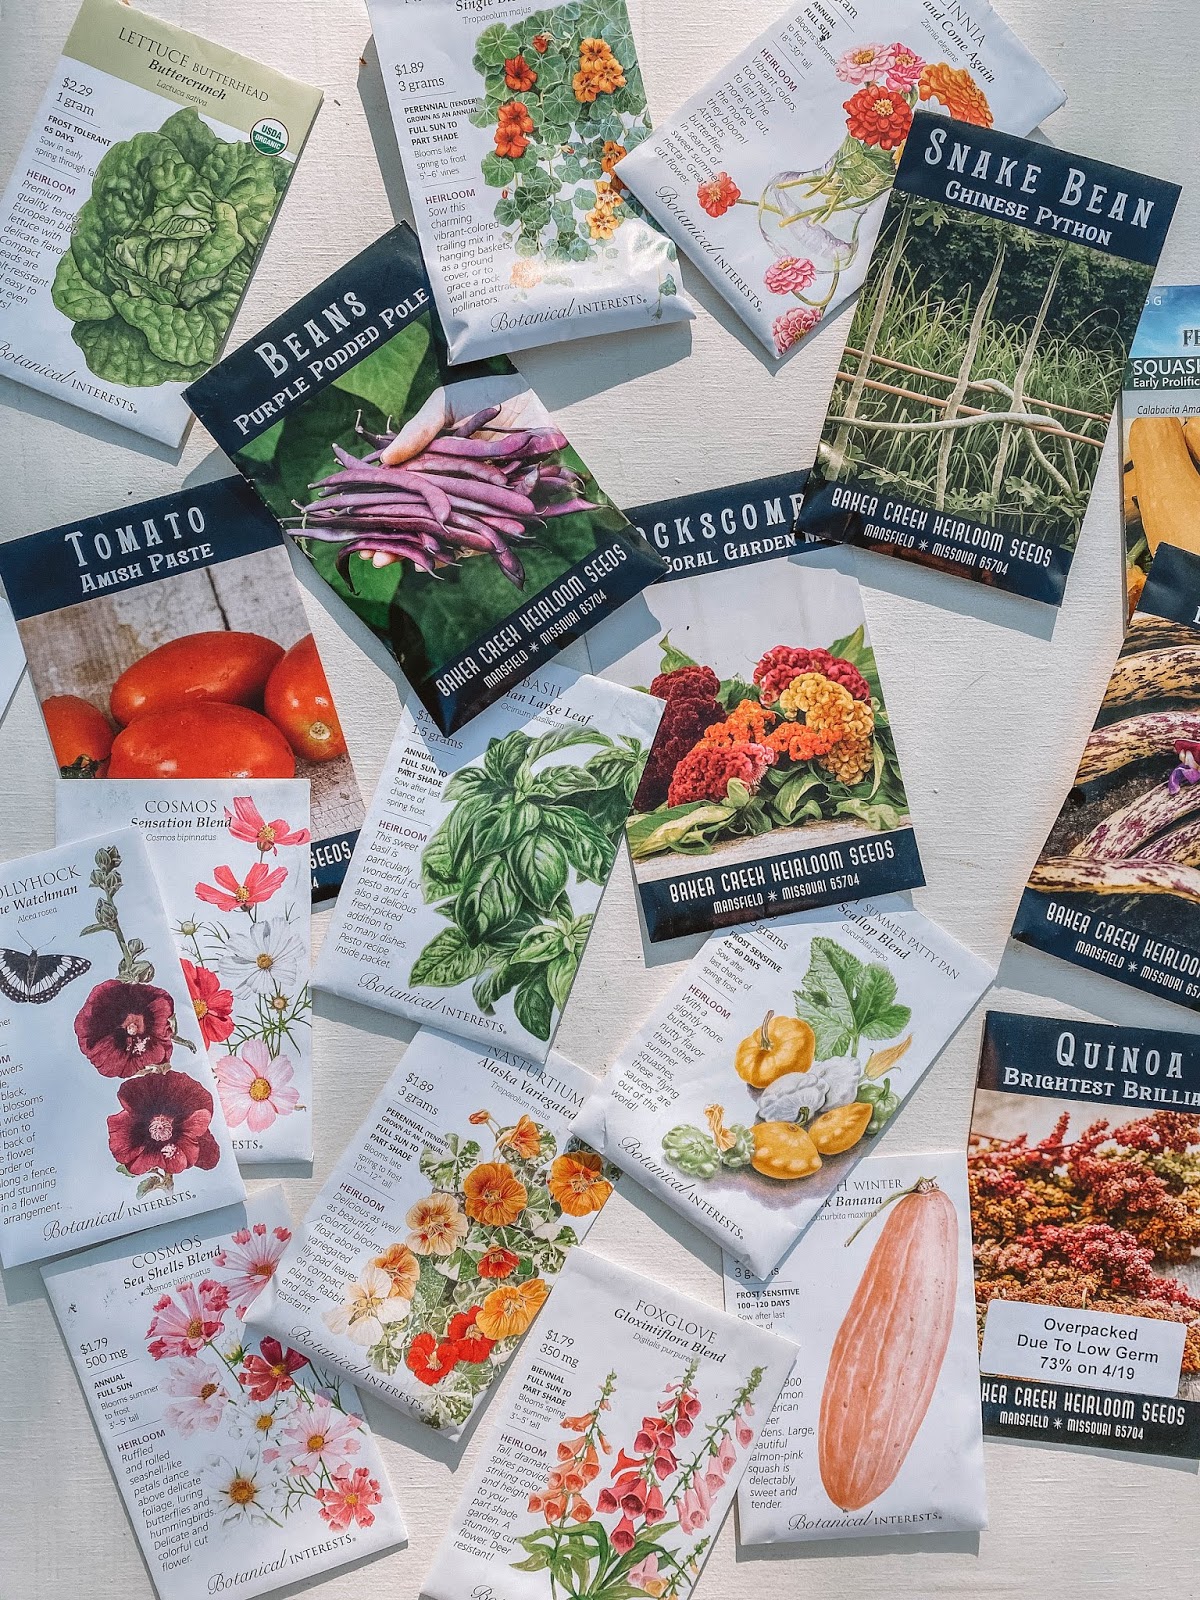
1. Botanical Interests
2. Baker Creek Heirloom Seeds
3. Annie's Heirloom Seeds
4. Southern Exposure Seed Exchange
5. MI Gardener
6. Eden Brothers
7. Johnny's Seeds
8. Seed Savers Exchange
9. Sustainable Seed Company
10. Victory Seeds

Another seed option is to join a seed swap. It's a great way to accumulate some cool varieties of seeds and try them out in smaller quantities. We were part of a seed swap this year and we got a lot of seeds that we would have never thought to purchase- hello hibiscus! And this is why heirlooms (and seeds in general) are so fun.